Trend Alert: Tie Dye Parties

Tie dye is back and better than ever and people everywhere are jumping on this fun trend. There’s a new way to take your custom t-shirts to the next level and our customers have been doing some pretty fun things with tie dye, even getting together to have tie dye parties with their custom shirts. It’s a great way to have the best of both worlds: custom t-shirts that are as unique as every person in your group. Read on for ideas for how you can take your custom shirts to the next level with tie dye.
BLACK OR WHITE INK ON WHITE T-SHIRTS
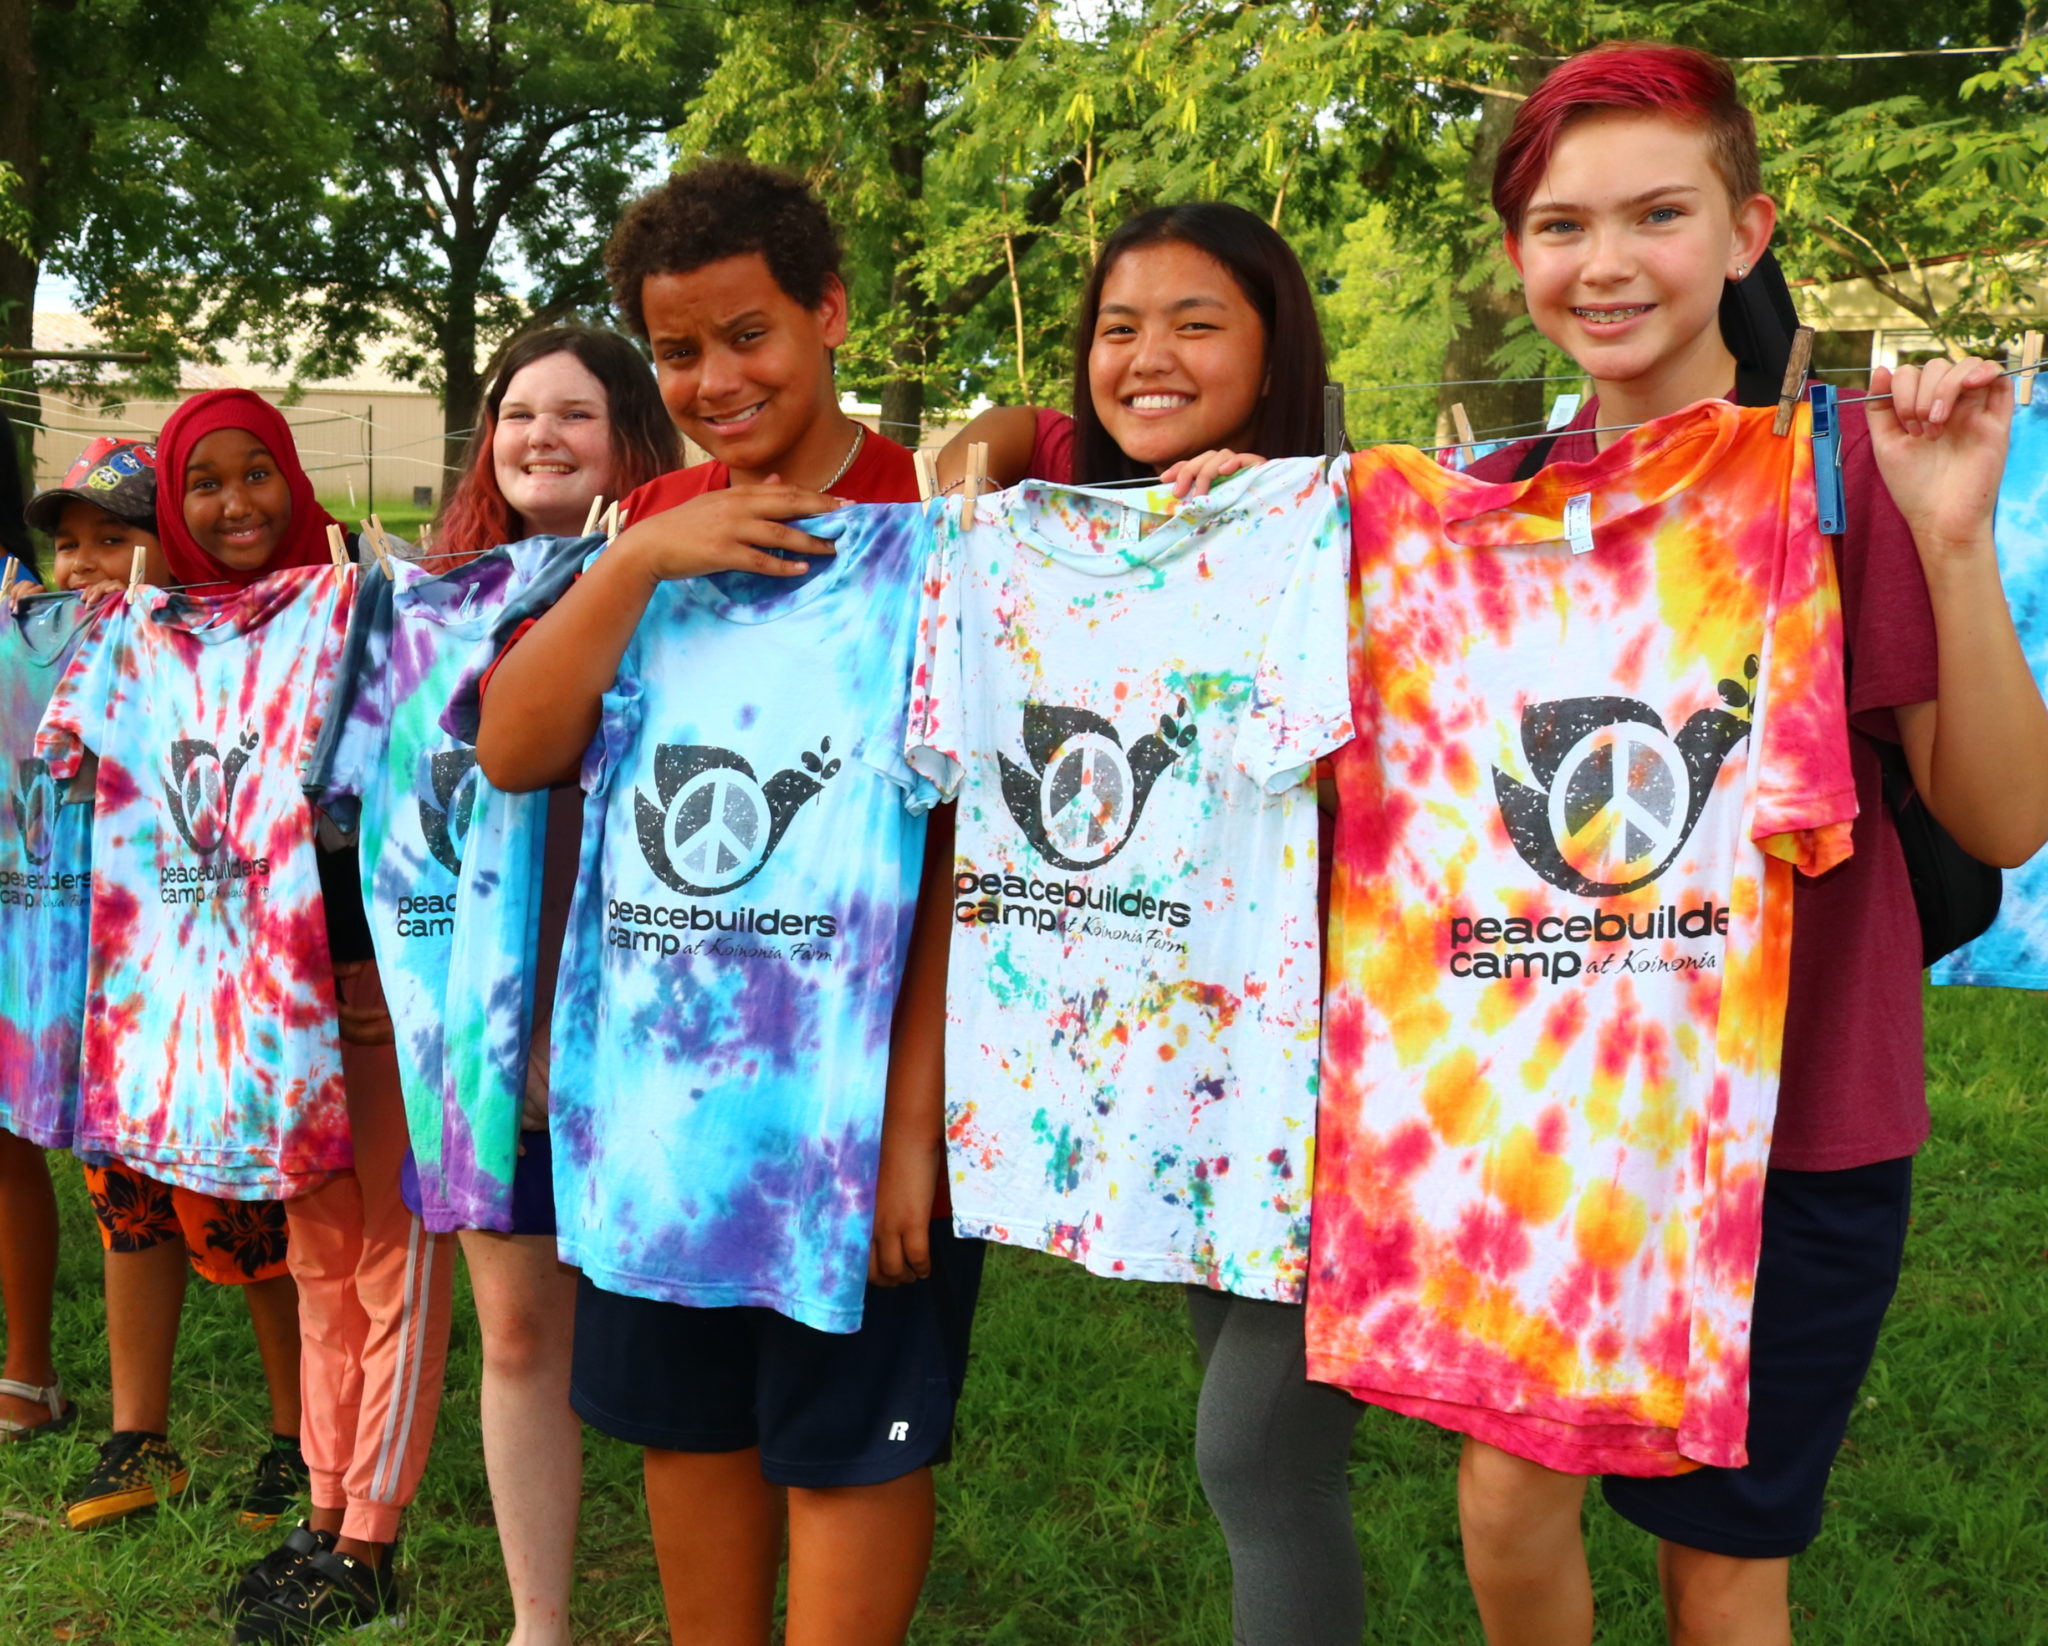
Transform a white shirt with a simple black ink design, or try something fun and unexpected, like a white-on-white t-shirt (white ink on a white shirt) design. The dye won’t stick to the ink, so when you tie dye your shirt, the design will really pop. For a design that really stands out, outline the white with black ink. Since white-on-white is hard to see, here’s a trick to doing this. When you go into the Design Lab, we suggest you start designing on a black or navy shirt to see the white ink clearly. That way, you can perfect your design using the darker background before finalizing, and then make sure to use the notes field to leave a note for the Custom Ink production team to let them know your plan.


These campers tie dyed their white shirts and made them their own.
You can also do a black design on white shirts. The black design will show up in a more subtle way than the white but it is another great way to go.
If you have kiddos in the group and are worried about the mess of doing dye, you can use block letters in your design and let the kids color in the letters with fabric markers! (You can also customize pre tie dyed shirts if you want the look but don’t have the will or the way to do it yourself.)


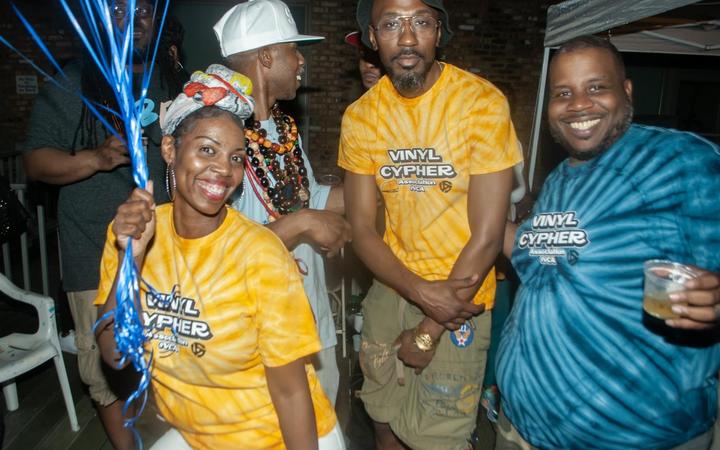
This crew gathered at a DJ birthday party event rocking their pre tie dyed shirts.
THROW A PARTY!
Before your event, get your group together to tie dye your shirts. It can be a fun event to tie into other pre-event projects like picking up race bibs or making car wash signs. Make it an opportunity to gather and plan while also prepping your fun shirts for the big day.


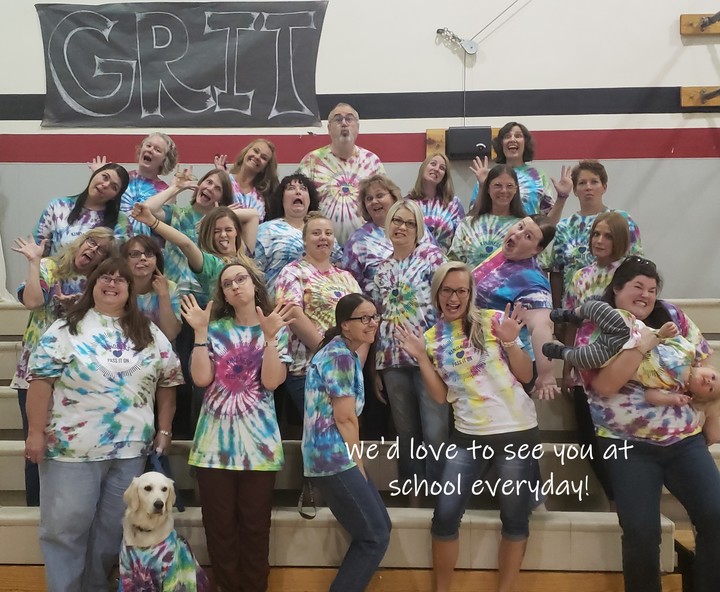
The staff at one elementary school (above) had a tie dye party for their Kindness… Pass it On shirts. They told us that they wear their kindness shirts every Tuesday to raise awareness around bullying.
HOW TO HAVE A TIE DYE PARTY
In case it’s been a while since you did some tie dyeing of your own here’s a quick primer:
You’ll need your shirts! (of course), a tie dye kit (you can get kits at craft stores or online), rubber bands, rubber gloves, plastic table cloths, plastic sealable bags, paper towels, baking racks, markers, water, buckets, drop cloths (if working inside). Tie dyeing works really well outside on the grass, but if you wind up working inside, we suggest you put down some drop cloths.
To get started, first, have everyone dampen the shirts and wring them out. There are all sorts of ways to fold up your shirts to get different patterns. Rubber band them and then dye based on the directions on your tie dye kit. They’ll need to sit in a plastic bag for six to eight hours. Once the dye is set, you’ll rinse them thoroughly in a sink and then wash in a washing machine.


This couple celebrated their July 5th 50th anniversary with a red, white, and blue tie dye theme with their family.
COLOR THEMES
You don’t have to all use the same colors. Maybe some people want a rainbow of colors. Maybe some want single colors. Maybe you want to assign individual colors to make a rainbow when you pose together in your shirts, so you can have a few red, a few green, a few yellow. That could make for a fun pic. You can also do red, white, and blue. Really, your imagination is your only limit!
Tie dye is so retro, so now, and so not going anywhere. So for your next event, get your crew together and make your mark and more memories with a tie dye party to remember. Custom tie dye shirts are great for summer camps, clubs, cousin camps, sports teams, family reunions, car washes, races, and more.

Leave a Comment